Ichimoku Bounce on Tenkan-Sen by YellowKumaIchimoku Bounce (Long/Short) on Tenkan-Sen by YellowKuma
Pure bounce signals off the Tenkan-sen • No MTF • No noise
🌊 What It Does
This indicator spots high-probability reversal zones where price reacts off the Tenkan-sen (9-period conversion line) — the fastest Ichimoku component acting as dynamic support/resistance.
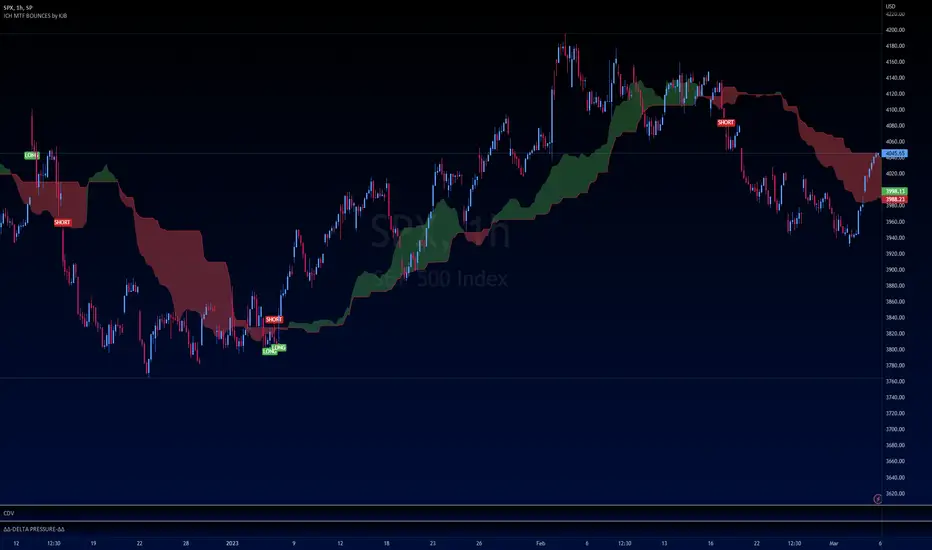
✅ Long signal → Price bounces up from Tenkan-sen while trading above the cloud
✅ Short signal → Price rejects down from Tenkan-sen while trading below the cloud
✅ Kijun-sen is used only as a trend filter (Tenkan > Kijun for longs / Tenkan < Kijun for shorts) — never as a bounce level
✅ Zero MTF complexity — runs purely on your chart's native timeframe, no repainting
Signals appear as:
🟢 "L" label below the bar → Bullish Tenkan bounce
🔴 "S" label above the bar → Bearish Tenkan bounce
⏱️ Timeframe Matters — A Lot
This strategy shines on higher timeframes and struggles on low ones. Why?
📈 H4 / Daily / Weekly
→ Tenkan-sen aligns with real institutional pivot zones
→ Cloud represents weeks of consensus value — strong trend filter
→ Bounces carry momentum → larger winners, fewer whipsaws
📉 M5 / M15 / M30
→ Tenkan-sen reacts to micro-noise, not structure
→ Cloud too thin — price slices through easily
→ False bounces dominate → shallow moves, poor R:R
💡 Rule of thumb:
• Use H4 for swing entries
• Use Daily for core trend trades
• Keep a Weekly chart open to confirm macro trend (only trade bounces with the Weekly cloud)
• Avoid M15/M30 entirely — signal quality degrades sharply
⚙️ Settings (Simple & Clean)
• Tenkan-sen Period → 9 (standard) — shorter = more sensitive, longer = smoother
• Kijun-sen Period → 26 (standard) — trend filter only
• Senkou Span B Period → 52 (standard) — defines cloud thickness
• Show Long Bounces → Toggle ON/OFF
• Show Short Bounces → Toggle ON/OFF
Cloud colors:
🟢 Green fill → Bullish cloud (Senkou Span A > B)
🔴 Red fill → Bearish cloud (Senkou Span A < B)
🎯 How to Trade the Signals
1️⃣ Wait for confirmation
→ Never enter mid-bar. Wait for candle close beyond the Tenkan-sen.
2️⃣ Check cloud alignment
→ Longs only when price > cloud top
→ Shorts only when price < cloud bottom
3️⃣ Add price action confirmation (optional but recommended)
→ Bullish engulfing / hammer at Tenkan → stronger long signal
→ Bearish engulfing / shooting star at Tenkan → stronger short signal
4️⃣ Risk management
→ Stop-loss: 1–2 pips beyond bounce bar extreme OR 2×ATR(14)
→ Take-profit: Target Kijun-sen (near-term) or opposite cloud boundary (swing)
→ Minimum reward:risk = 1:3
5️⃣ Avoid these situations
→ Choppy markets (Tenkan/Kijun flat, cloud thin)
→ Major news events (FOMC, NFP) — volatility distorts Tenkan touches
→ Bounces within 15 pips of strong horizontal resistance/support against your direction
🔔 Alerts
Built-in alert conditions:
• "Long Bounce" → triggers when green "L" appears
• "Short Bounce" → triggers when red "S" appears
→ Right-click indicator → Add Alert → choose condition
💡 Pro Tips for TradingView Users
✨ Session timing: Avoid first 60 mins of London/NY open — volatility creates false Tenkan touches
✨ Combine with Weekly trend: Disable short signals when price > Weekly cloud (and vice versa)
✨ Less is more: Expect 2–5 high-quality signals per week on H4 — that's normal. Quality > quantity.
⚠️ Important
This is a price-structure tool, not a magic bullet.
Always:
• Respect the trend (trade bounces with the cloud, not against it)
• Use proper position sizing (0.5–1% risk per trade)
• Keep a trading journal — track which bounces worked and why
✨ Bottom Line
Pure. Simple. Effective.
By focusing only on Tenkan-sen bounces — and enforcing strict cloud alignment — this indicator cuts through noise and delivers clean reversal zones where institutions actually place orders.
Works best on H4 and higher.
Add it. Switch to H4. Trade the bounce. 🚀 @YellowKumo
Penunjuk Pine Script®